Scratching affects how sharp a cat’s claws are, so the surfaces and equipment in a home directly change how often the claws need attention. The ASPCA advises trimming a cat’s claws to keep them relatively blunt, and it describes scratching as the natural way claws are maintained. For indoor cats, a suitable scratching post gives them an appropriate place to scratch, but the ASPCA still advises trimming to keep the claws relatively blunt.
Why trim your cat’s nails?
How scratching changes claw sharpness
Scratching sheds the outer claw layer, which exposes the sharper claw underneath (ASPCA). A cat that scratches regularly keeps shedding that outer layer, so its claws stay sharp. Without a suitable outlet, the outer layer is not removed through scratching, and the claw tips remain as they are until they are trimmed. Trimming is how owners keep claws relatively blunt, as the ASPCA advises, because scratching exposes the sharper claw underneath rather than blunting it.
Equipment that supports natural claw care
The ASPCA recommends a stable scratching post at least three feet tall, covered in a rough material such as sisal or burlap (ASPCA). Each feature has a specific role:
- Height: at least three feet, as recommended by the ASPCA.
- Stability: the post must stay in place while the cat pulls on it.
- Covering: a rough material such as sisal or burlap, which gives the claws a surface to shed against.
A scratching post only helps if the cat uses it. Place it where the cat already scratches, such as near a sleeping area or a favoured piece of furniture, and keep the covering in good condition. A worn or flattened surface offers less resistance for the claws. Even with a correct post, the claws should still be checked, because scratching sheds the outer layer on the cat’s schedule, not yours.
What supplies do you need?
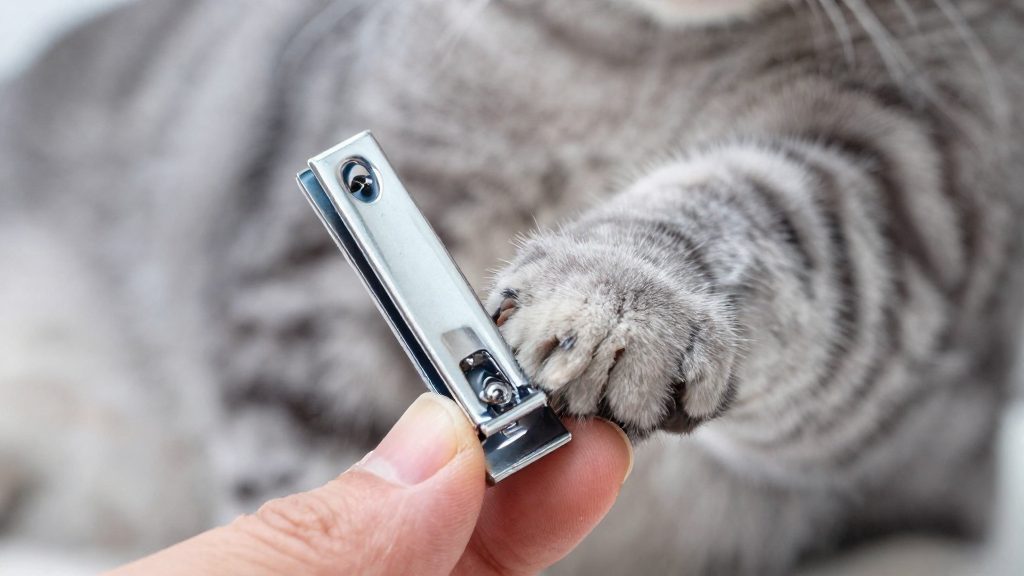
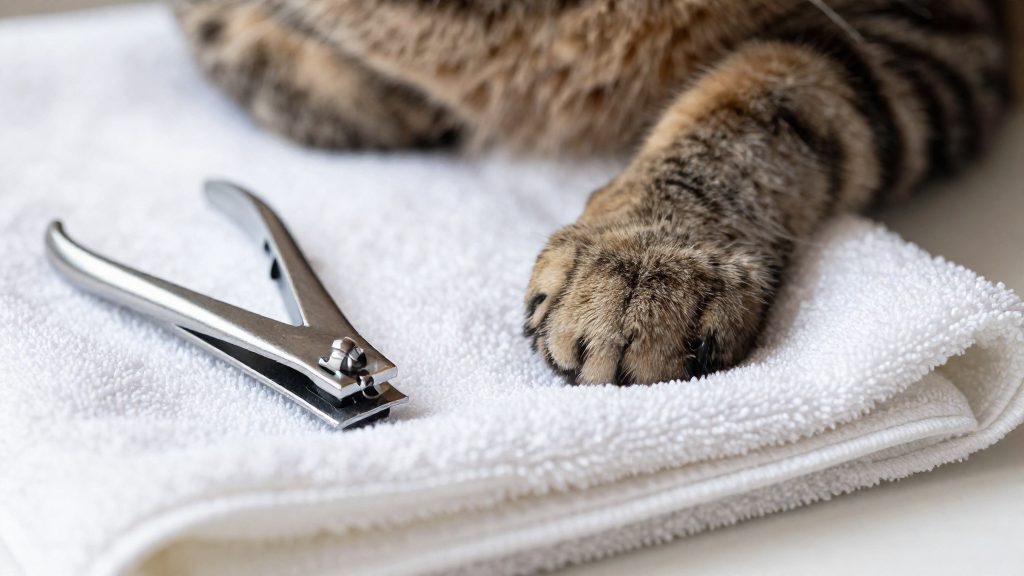
Before the first trim, gather two items: cat-specific clippers and a container of styptic powder kept within reach. Use clippers made for cats and keep styptic powder within reach.
Cat clippers are generally made in two mechanical styles:
| Style | How it cuts | What to check before buying |
|---|---|---|
| Scissor style | Two blades pass each other like scissors and close across the nail | Blades should meet along their full length without gaps |
| Guillotine style | The nail sits in a small opening and a blade slides across to cut it | The opening should be sized for a small nail, not a dog’s |
Whichever style you choose, the blades must be sharp. Dull blades pinch the nail instead of slicing through it, which makes the cut less controlled and more stressful for the cat.
Styptic powder is the second essential item. Buy it and store it before the first session, not after an accident. Keep it in the same place as the clippers so you can reach both without searching. The ASPCA advises trimming every two to three weeks, so these supplies will be needed repeatedly and should have a permanent spot at home.
How do you get your cat used to nail trims?
Getting a cat used to nail trims means building tolerance in small, predictable steps before the clippers touch a claw. Pangovet / The Vet Desk (reviewed by Dr. Maja Platisa, DVM MRCVS, 2026-04-20) describes the core method: handle the paws gently, press a toe to extend the nail, give a treat, and let the cat sniff the clippers first. The goal is for paw handling and clipper exposure to feel routine, so the cut itself is not a surprise.
Start with paw handling
Begin while the cat is relaxed. Hold a paw, press one toe gently so the nail extends, then release and give a treat. Repeat across several toes. The reward is tied to the handling, so the cat learns that having its feet touched predicts something pleasant. Keep the pressure light, and stop the step if the cat pulls away.
Introduce the clippers
Before any cut is made, let the cat sniff the clippers. Place them within the cat’s reach, let it investigate at its own pace, and reward calm behaviour. Once the tool is accepted nearby, bring it close to a paw during the same handling routine. The sequence below shows how the steps build on each other.
| Stage | What you do | Purpose |
|---|---|---|
| 1. Paw handling | Hold the paw, press a toe to extend the nail, give a treat | Link handling with a reward |
| 2. Clipper sniffing | Let the cat sniff the clippers | Familiarise it with the tool |
| 3. Clipper nearby | Bring the clippers close to a paw, then treat | Pair the tool with a reward |
| 4. First cut | Make the first cut | Begin trimming once steps 1 to 3 are accepted |
Keep sessions short
Most cats become restless after two or three nails. Stop there rather than pushing for a full trim. Plan several short sessions instead of one long one, and end while the cat is still calm. Progress shows in how the cat behaves across sessions, not in how many nails are finished in a single sitting.
How to trim cat nails step by step
Trimming a cat’s nails at home involves three stages: preparing the cat and the setting, identifying the quick, and cutting only the sharp tip. Choose a quiet spot away from windows and household activity, and trim when the cat is calm, for example after a meal or a nap. A cat that is restless or alert is more likely to pull its paw away mid-cut, so the setup matters as much as the cut itself.
Complete the habituation steps above before any cutting.
The cutting sequence:
| Step | Action | What to check |
|---|---|---|
| 1. Set up | Sit in a quiet spot away from windows | The cat is calm, not just dozing or distracted |
| 2. Extend the nail | Press gently on the toe | The nail slides out fully |
| 3. Locate the quick | Look for the pink area at the nail base | The quick is often visible through the semi-transparent nail |
| 4. Cut the tip | Remove only the sharp white part | The cut stays clear of the pink area |
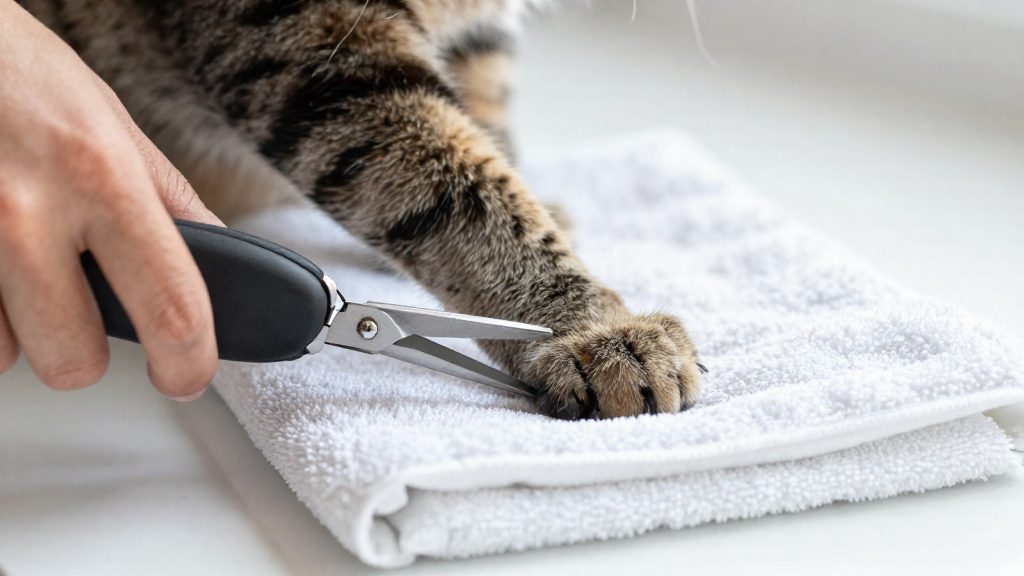
Work on one nail at a time and check each cut before moving on. Keep the cut on the white section only, and angle the clippers so the cut follows the nail’s natural curve.
Erring on less is the safest rule. The quick is visible through the nails of most cats, but not all, so the pink boundary is not always easy to judge. Removing a small amount is always safer than cutting too far. Leftover length can be trimmed on a later pass, but a cut into the quick cannot be undone.
What if you cut the quick?
The quick is the pink, blood-supplied area inside the nail. If you clip it, the nail bleeds, and the cat will likely react. Stop the cut at once, keep the cat still, and do not continue on that paw. Your immediate response has three parts: stopping the bleeding, calming the cat, and deciding whether the session goes on.
Stopping the bleeding
- Hold the paw gently and press a clean cloth against the clipped nail.
- Apply styptic powder directly to the bleeding nail tip and press lightly until the bleeding slows.
- Keep the cat from licking or pulling at the paw while the powder works. Gentle restraint or a calm voice helps.
- Check the nail once the bleeding has stopped before you do anything else.
Use only the styptic powder you have on hand. Do not improvise with other substances on a cat’s paw.
Pausing the session
Once the quick is clipped, pause the session and stop trimming. A painful nick makes the cat more restless. Trimming a stressed or bleeding cat raises the chance of a second accident, so end the session and leave the remaining nails for another day.
Resume later in a short session, in the same quiet spot, when the cat is calm again.
When to call a vet
Contact a veterinarian if:
- Bleeding continues after you apply pressure and styptic powder.
- The nail splits or tears below the quick.
- The cat limps, licks the paw persistently, or resists paw handling after the incident.
Describe what happened and the bleeding you saw. A vet can check the nail and the paw, and advise whether further treatment is needed.
How often should you trim cat nails?
The ASPCA advises trimming a cat’s claws every two to three weeks to keep them relatively blunt. This interval is a reference point, not a fixed schedule. The aim is a claw that stays short and blunt, and the timing should match the growth you see in your own cat.
The length of each cut is set by the nail’s anatomy. The pink quick at the base of the nail is usually visible through the semi-transparent nails of most cats, so you can see where the cut should stop. If the white tip is already short, the claw does not need trimming at that visit.
Growth varies between cats, so the interval should be adjusted individually. Use the first few trims as a baseline. At each visit, note how long the tips were and how quickly they regrew, then move the next check earlier or later within the range. A cat whose claws regrow fast may need the shorter end of the window, while a slow grower may need the longer end. Checking the claws at each interval is more reliable than trimming on a calendar date alone.
| Parameter | Guidance | Source |
|---|---|---|
| Trimming interval | Every two to three weeks | ASPCA |
| Overall goal | Claws kept relatively blunt | ASPCA |
When should you see a vet or groomer?
Home trimming suits routine maintenance of a cat that tolerates handling. Some situations call for professional help instead. The clearest case is a nail that has grown into the paw pad. Beyond that, the decision depends on how the cat responds to the process and on the owner’s experience with the tools.
Nails growing into the paw pad
A nail that has grown into a paw pad is painful and needs prompt veterinary attention. Do not treat it as a routine trim. Book a veterinary appointment rather than waiting for the nail to change on its own.
Learning the technique at the vet’s office
A first-time owner can practise the technique at the veterinary clinic before trimming at home. Ask the team to show you the handling and clipping steps on your own cat during a visit, so you can see how the process works before you try it alone.
When the cat resists home trims
If the cat still struggles across repeated short sessions, or the owner cannot hold the paw safely, a professional groomer is a suitable option. Moving the task to a groomer protects both the cat and the owner from a rushed or unsafe trim.
| Situation | Who to contact | Reason |
|---|---|---|
| Nail has grown into the paw pad | Veterinarian | Painful; needs prompt attention |
| First trim, no experience yet | Veterinary clinic | Technique can be practised there first |
| Cat resists after several short sessions | Professional groomer | Home trimming is no longer manageable |
Frequently asked questions
How often should I trim my cat’s nails?
The ASPCA advises trimming every two to three weeks to keep claws relatively blunt (ASPCA). Scratching alone does not keep the tips short, so a regular schedule matters even when a cat uses a good scratching post.
What should I do if I cut into the quick?
Keep styptic powder within reach before you start, because the pink quick can be nicked. Trim only the sharp white tip and stay clear of the quick, since the sources advise cutting too little rather than too much (Pangovet / The Vet Desk, 2026-04-20).
My cat gets restless during trims. How can I make it easier?
Let the cat sniff the clippers first, then handle the paws gently, press a toe to extend the nail, and give a treat. Most cats become restless after two or three nails, so split the trim into several short sessions in a quiet spot when the cat is calm (Pangovet / The Vet Desk, 2026-04-20).