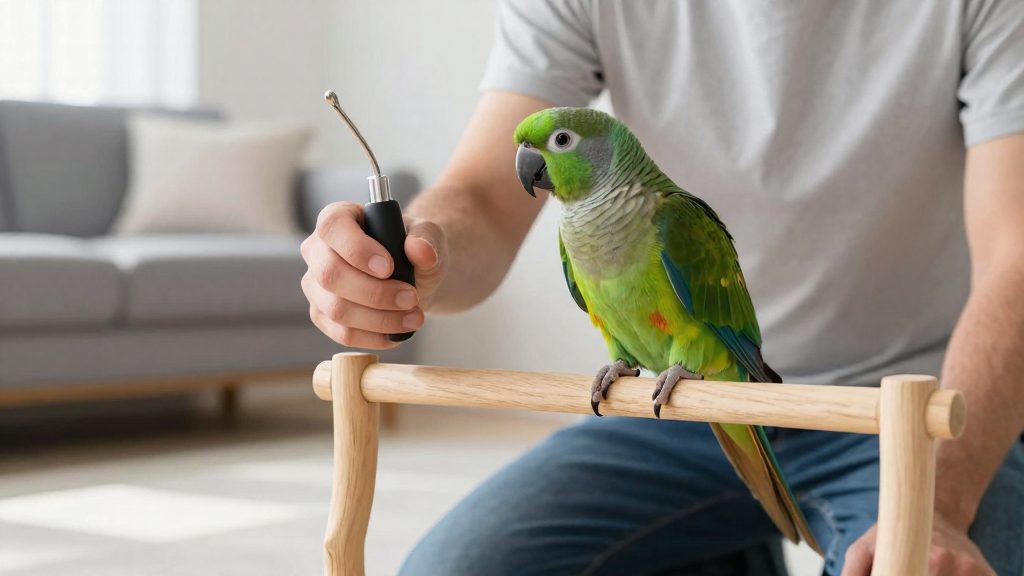
Clicker training works for parrots because the click acts as a marker sound: a short, consistent signal that identifies the exact action being rewarded, even when the treat arrives a moment later. Parrots learn by association, so a distinct sound lets them connect one movement with a payoff. The UF Health Podcasts (University of Florida, 2023-01-04) describes the click as predicting a reward, which is the core of this link.
Why clicker training works for parrots
The marker as a bridge between behaviour and reward
Without a marker, a treat often arrives after the bird has already changed position, so the bird may link the reward to the wrong movement. The click closes that gap:
- The bird performs the wanted behaviour, such as turning toward a target.
- The click is delivered during that behaviour, so the bird knows which action earned the reward.
- The treat follows, and the bird connects the behaviour with the payoff.
The same sound must be used for the same kind of response every time. Mixing sounds or words for the marker weakens the association.
Why precise timing matters
Timing is the main variable in marker training. A click that comes late can attach to whatever the bird does next, such as stepping away or looking elsewhere. For this reason, the click should be delivered at the instant the wanted movement happens, not after the bird has finished or moved on.
Positive reinforcement compared with punishment-based approaches
Positive reinforcement adds something the bird values, such as a small treat, after a wanted behaviour, which makes that behaviour more likely to recur. Punishment-based approaches aim to reduce unwanted behaviour through aversive consequences. The two differ in what the bird learns:
- Positive reinforcement shows the bird which action to repeat.
- Punishment signals that an action is unwanted but does not show the bird which alternative is expected.
The sources consulted do not give comparative outcome data for parrot training, so this comparison rests on how the reward mechanism works, not on measured results.
What do you need before you start?
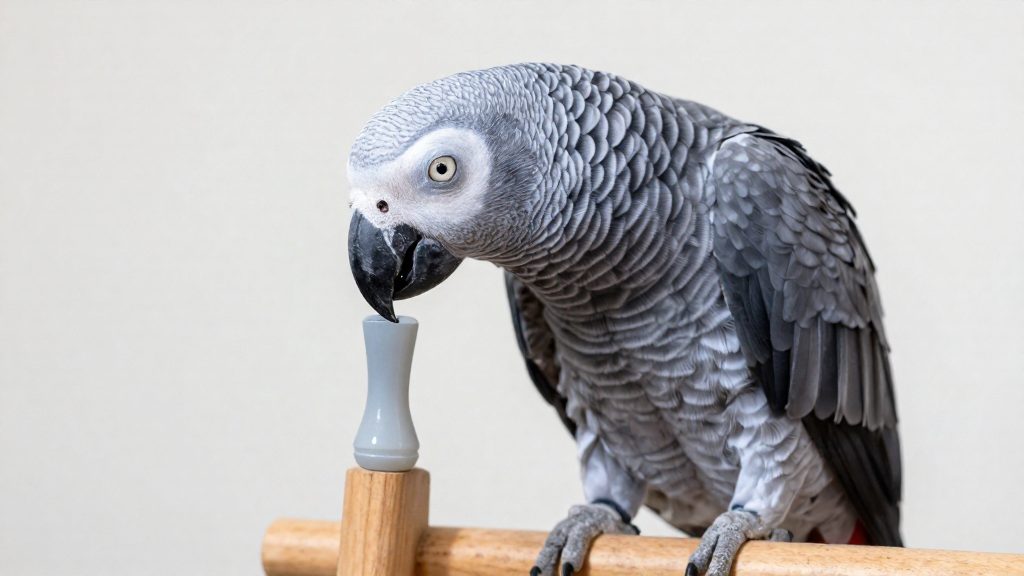
Clicker training a parrot requires a small set of physical items and a prepared space. According to UF Health Podcasts (University of Florida, 2023-01-04), target training rewards a bird for going to a designated target, and the setup needs a target (a small object the bird doesn’t usually see), a clicker and a food treat. The official sources consulted do not specify a clicker model, sound level or handling standard, so the guidance below describes general practice.
| Item | Role in the session | Preparation before the first session |
|---|---|---|
| Target object | Gives the bird a fixed point to approach | Choose an object the bird does not see in daily play, and store it out of reach between sessions |
| Clicker | Produces the marker sound that signals a reward | Use one device for every session so the sound stays identical |
| Food treat | Becomes linked to the click | Have it ready before you start, so the click is followed by the reward without delay |
Clicker type and handling
- Use one clicker only. Switching devices changes the sound, which weakens the link the bird is learning.
- Keep the clicker in the same hand and position. Consistent handling makes the sound and timing predictable.
- Practise the click before the bird is present. Press and release it several times so the action is smooth when the bird is watching.
- Keep the clicker away from the cage when not in use. This prevents accidental clicks that would reward nothing in particular.
A quiet space and a calm bird
- Pick a room with low foot traffic and switch off the television or other loud appliances.
- Use the same training spot each session, so the bird learns the location as a place for training.
- Start only when the bird is settled. A bird that has just been disturbed or is restless is less likely to engage with the target.
Charge the clicker with treats
Charging the clicker means building a click-treat pairing, so the parrot learns that the click predicts a food reward. This is the first step of clicker training and comes before any target or behaviour is requested. According to UF Health Podcasts (University of Florida, 2023), you click and give a treat right away, so the bird learns that the click predicts a reward.
The pairing sequence
Each cycle follows this order:
| Order | Action | What the parrot learns |
|---|---|---|
| 1 | Press the clicker once | The sound is about to happen |
| 2 | Give the treat immediately | The sound is followed by food |
| 3 | Pause, then repeat | The pattern is predictable |
The treat must follow the click without delay. If the reward comes well after the sound, the parrot may not connect the two events.
Choosing a tiny treat
Use a treat about half a sunflower seed or less, according to Parrot Essentials (UK specialist retailer blog, 2025-01-02). A small piece is eaten quickly, so the parrot does not stop to chew and stays ready for the next click. Keep treats in your hand or a pouch so you can deliver them without fumbling.
Repeating until the parrot responds to the click
Continue the cycles until the parrot reacts to the click on its own. Signs include turning its head toward your hand, looking at you, or stopping what it is doing when it hears the sound. Once this happens, the click has started to carry meaning and can be used to mark behaviours in later steps.
The official sources consulted do not specify a number of repetitions. Judge readiness by the parrot’s reaction rather than by a fixed count.
How do you teach target training step by step?
Target training works as a criteria ladder: the bird is first rewarded for any movement toward the target, and each later stage asks for a closer, more precise action. According to UF Health Podcasts (University of Florida, 2023), the target is first placed a short distance away. The bird is clicked, praised and treated when it shows curiosity, and over time it moves closer until it touches the target. The steps below follow the staged approach described by Parrot Essentials (UK specialist retailer blog, 2025).
Stage 1: Start at a short distance, at eye height
Hold the target stick, such as a chopstick, near the bird at its eye height. Keep it a short distance away at first. Your goal at this stage is curiosity, not contact. Any step, lean or head turn toward the stick earns the click and a treat.
Stage 2: Bring the target closer in small steps
Move the stick nearer over several sessions rather than in one jump. Keep sessions short, as detailed in the session-length section below.
Stage 3: Raise the criteria once the bird responds
Only change what earns the reward when the bird consistently performs the current behaviour. The sequence is:
| Stage | Behaviour rewarded | Purpose |
|---|---|---|
| 1 | Any movement toward the target | Builds interest in the stick |
| Level 2 | Beak touches the target | Establishes contact |
| 3 | Following the stick as it moves | Teaches the bird to track the target |
The last criterion level is where the bird learns to follow a moving target.
Use the target to teach step-up and recall
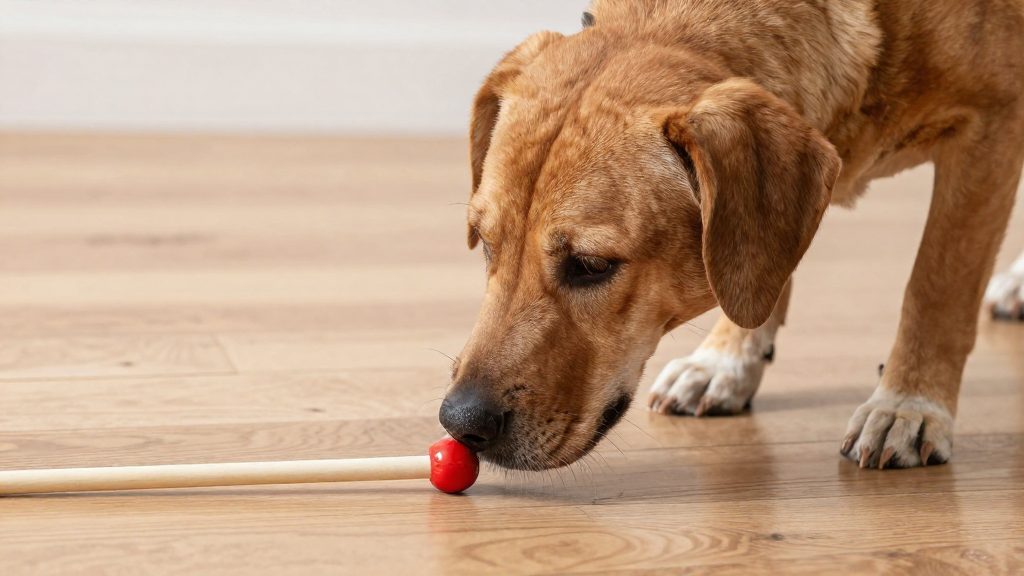
Once a bird reliably moves to the target, the same behaviour can be used for practical handling. According to Parrot Essentials (2025), the target can be used to teach step-up, recall, returning to the cage, and similar behaviours. The approach is the same in each case: the bird is rewarded for moving toward the target, and the target is positioned where you want the bird to go next.
Step-up. Present the target at the spot where you want the bird to step, such as your hand or a perch. Reward the bird when it moves onto the target, and keep the movement small so the bird learns the pattern without being grabbed. Parrot Essentials describes rewarding only when the bird follows a moving target stick, which is the same principle applied to a hand or perch.
Recall. The University of Florida (2023) notes that a bird that already likes going to the target can be taught to come when called. Introduce a consistent verbal recall cue a moment before you present the target, then click and treat when the bird arrives. Over repeated sessions, the bird links the word with the movement toward the target. Use the same word every time and avoid saying it when you have no reward ready.
Carrier entry. The University of Florida (2023) also describes using the target to guide the bird into a carrier. Place the target at the carrier opening, then reward the bird for going in. This lets you move the bird into the carrier without chasing it.
| Goal | Target placement | Reward timing |
|---|---|---|
| Step-up | At hand or perch, where the bird should land | When the bird moves onto the target |
| Recall | Presented after the verbal cue | When the bird reaches the target |
| Carrier entry | At the carrier opening | When the bird goes inside |
How long should training sessions be?
Target training with a parrot works best in short, frequent sessions. According to Parrot Essentials (UK specialist retailer blog, 2025-01-02), sessions should last about 5 to 10 minutes and be repeated several times a day rather than run as one long block. A parrot’s attention on a new task is limited, so each session should end while the bird is still responding. The official sources consulted do not give a fixed number of daily sessions or repetitions per session, so the schedule should follow the bird’s responses rather than a set quota.
| Parameter | Guidance | Source |
|---|---|---|
| Session length | About 5 to 10 minutes | Parrot Essentials (2025-01-02) |
| Sessions per day | Several, spread across the day | Parrot Essentials (2025-01-02) |
Signs the bird is tired or disengaging
Stop the session when the bird shows that it is no longer following the task. Observable signals include:
- Turning its head or body away from the target instead of moving toward it.
- Ignoring the target after it has been presented.
- Not reacting to the clicker when it sounds.
- Moving away from the trainer or refusing to come back to the training spot.
The official sources consulted do not publish a validated checklist of tiredness signs for parrots. Use these behaviours as practical cues. If they appear, end the session and try again later rather than pushing for more repetitions.
Ending on a successful repetition
End every session on a success. Choose a step the bird already performs reliably, have it complete one correct repetition, then click, reward and stop. This leaves the bird with a positive result, so it returns to the next session with the task still associated with the reward.
Common mistakes and when to ask an avian vet
Most clicker training problems come from timing and pacing, not from the bird’s ability to learn. The click works as a marker only if it reliably predicts a reward. Any habit that breaks that link weakens the whole process. The errors below are the ones that most often stall target learning, followed by the signs that call for an avian veterinarian rather than more training.
Frequent training errors that undermine target learning
- Clicking at the wrong moment. Clicking while the bird only looks at the target, instead of moving toward it, reinforces the wrong behaviour.
- Ignoring disinterest. A bird that turns away, preens repeatedly or refuses food is signalling that the session should end. Pushing on usually increases stress for both bird and handler.
Warning signs requiring avian veterinary review
The official sources consulted do not specify a dated referral threshold for avian patients. The guidance below reflects general avian veterinary practice, not a cited official standard.
| Observation during training or handling | Action |
|---|---|
| Feathers fluffed for long periods, sitting low on the perch, or lethargy | Contact an avian vet the same day and keep the bird warm and quiet; do not wait for the next session |
| Open-beak breathing, tail bobbing, or clicking sounds with each breath | Treat as an emergency: stop handling, keep the bird calm and call an avian or emergency vet immediately |
| Sudden change in droppings or appetite | Contact an avian vet the same day, and immediately if the bird is also fluffed, lethargic or breathing abnormally |
| Bleeding, or a broken feather that keeps bleeding | Apply gentle pressure and contact an avian vet the same day |
| Weight loss found when the bird is weighed | Book an avian vet visit |
Pain or injury signs during handling and perching
Pain often shows up as a change in movement rather than as obvious injury. Watch for:
- Reluctance to step up, or holding one foot off the perch
- A wing held away from the body or drooping on one side
- Flinching, biting or vocalising when a specific area is touched
- Favouring one side of the perch, or repeatedly losing grip and falling
When any of these appear, stop handling, return the bird to a quiet cage and contact an avian vet the same day, especially for a drooping wing, a limp or repeated falls. Do not give any medication without veterinary guidance.
Frequently asked questions
How long should each clicker session last for a beginner?
Keep each session to roughly 5 to 10 minutes and spread several of them across the day, according to Parrot Essentials (2025-01-02). Brief short sessions suit parrots better than one long sitting, because the bird’s attention is easier to hold for a short block.
What equipment do I need before starting target training?
You need a target, which is a small object the bird does not usually see, a clicker and a food treat. The treat should be tiny, such as half a sunflower seed or less, so the bird does not stop to eat it (UF Health Podcasts, University of Florida, 2023-01-04; Parrot Essentials, 2025-01-02).
What should I do if my parrot shows warning signs during a session?
Stop the session and return the bird to a quiet cage. Open-beak breathing or clicking with each breath calls for an immediate call to an avian vet or emergency vet, while fluffed feathers, lethargy or a drooping wing call for a same-day visit. The sources consulted do not specify country-specific referral thresholds, so this advice reflects general veterinary practice.